|
|
#31 |
|
Join Date: Jun 2013
Location: Toronto
Posts: 782
|
1/4 drive and deep socket got all but 2 bolts. rear cyl only had 1 bolt the rest had 2 I think.
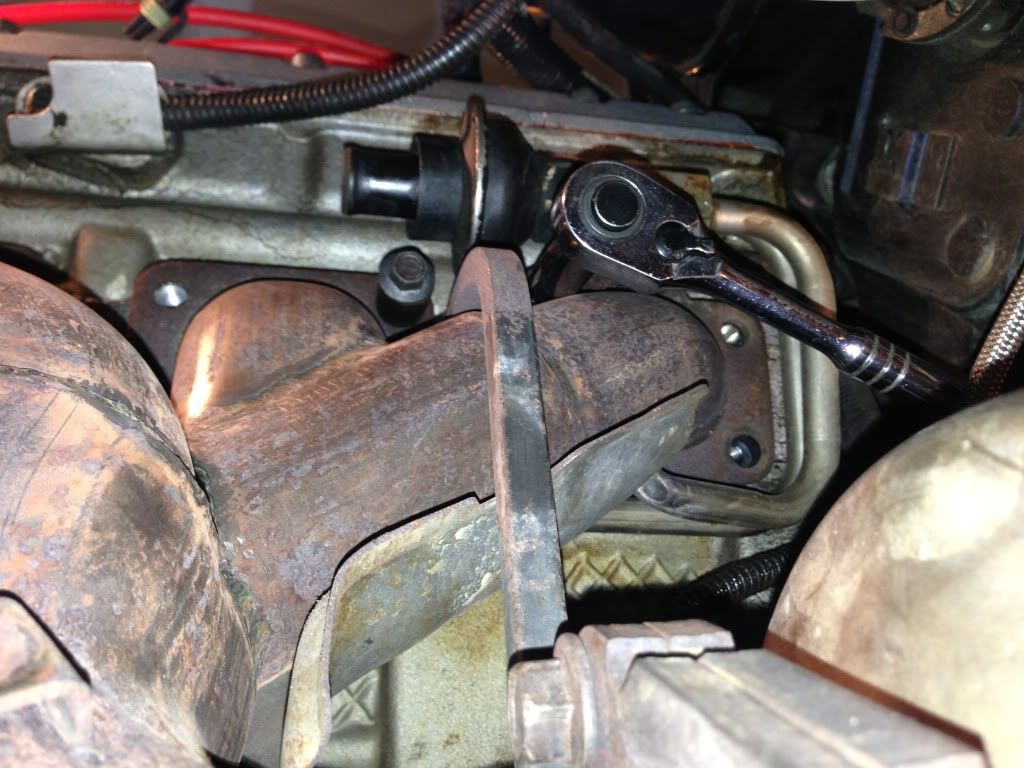 cyl #1 Needed a wrench.. and a ratchet wrench worked perfectly from around the power steering hoses. The bolt fell but an extendable magnet pen picked it up after the manifold was out. 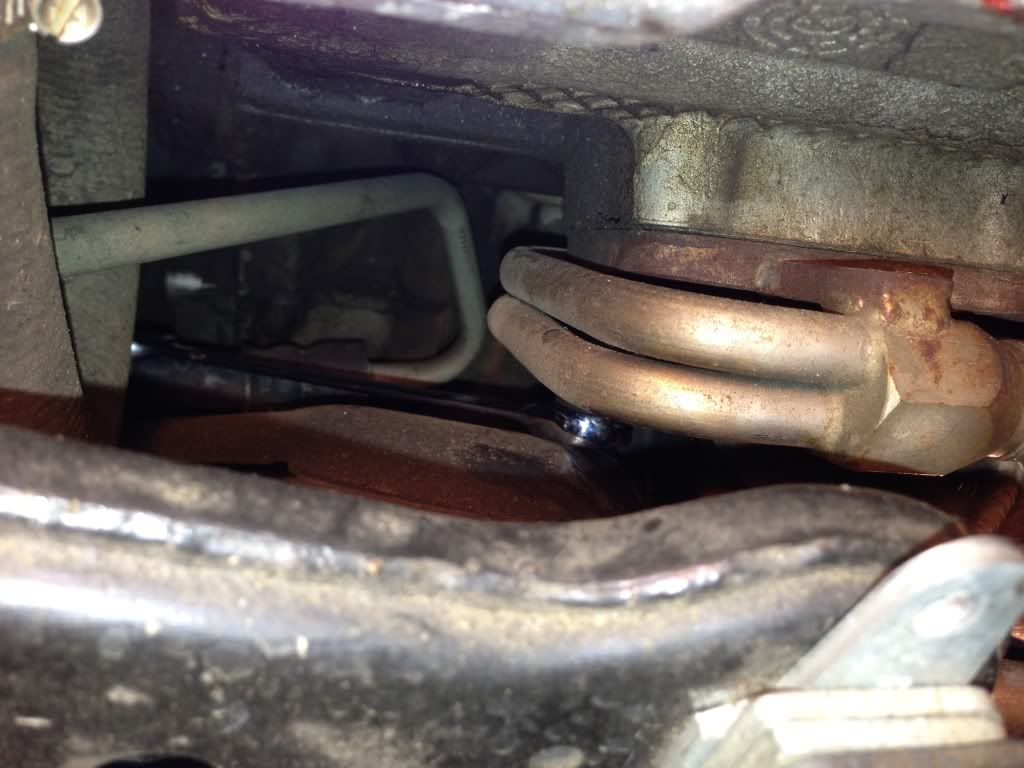 this one also couldnt fit a socket I think. used the wrench. I accidentally gave it a little turn tight before I realized  . . 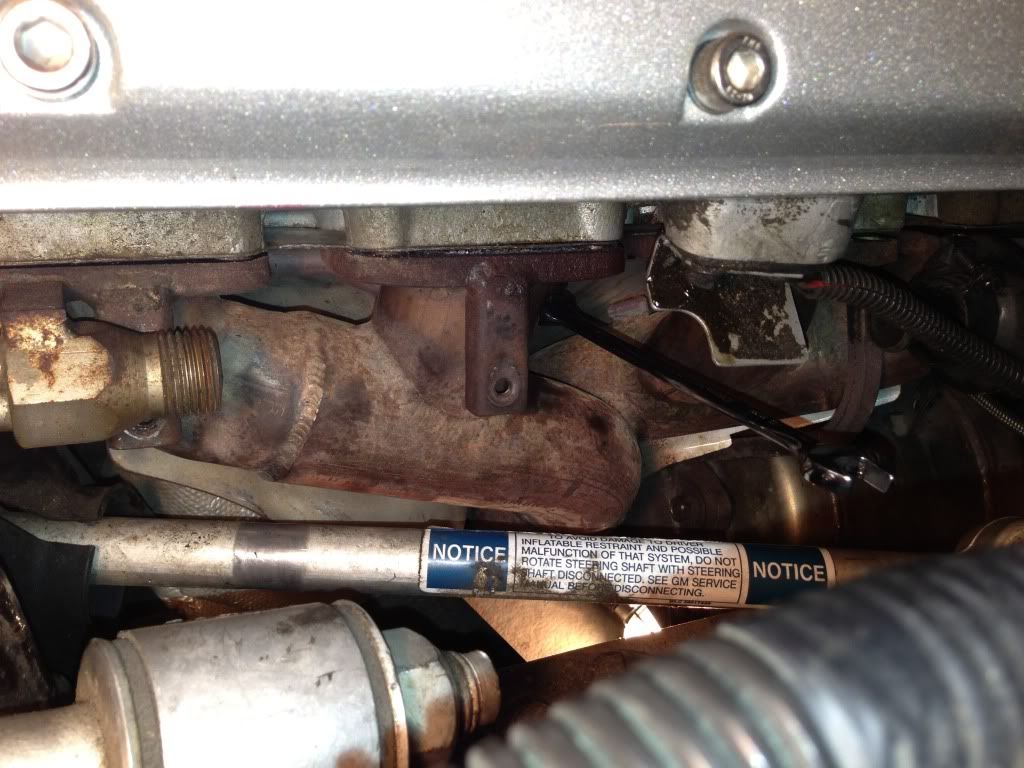 A little nudge and the manifold slipped right off and down. Uplugged the o2 and made sure it didnt snag on the braided line and it came right out ! 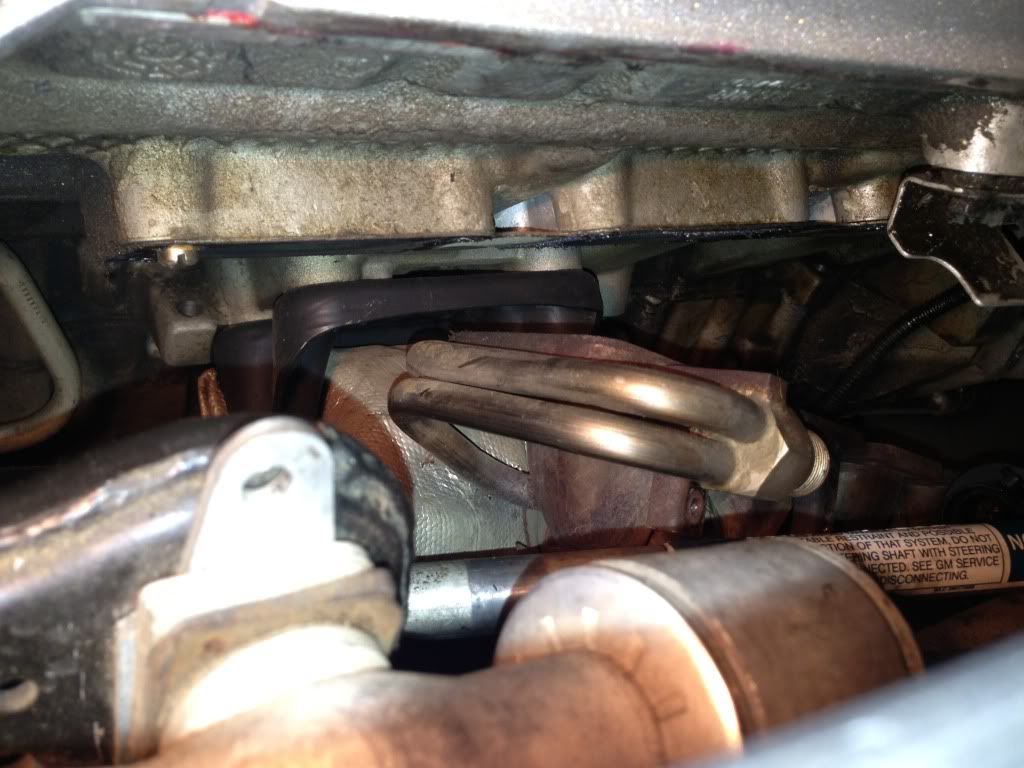 Sucker is heavy ! 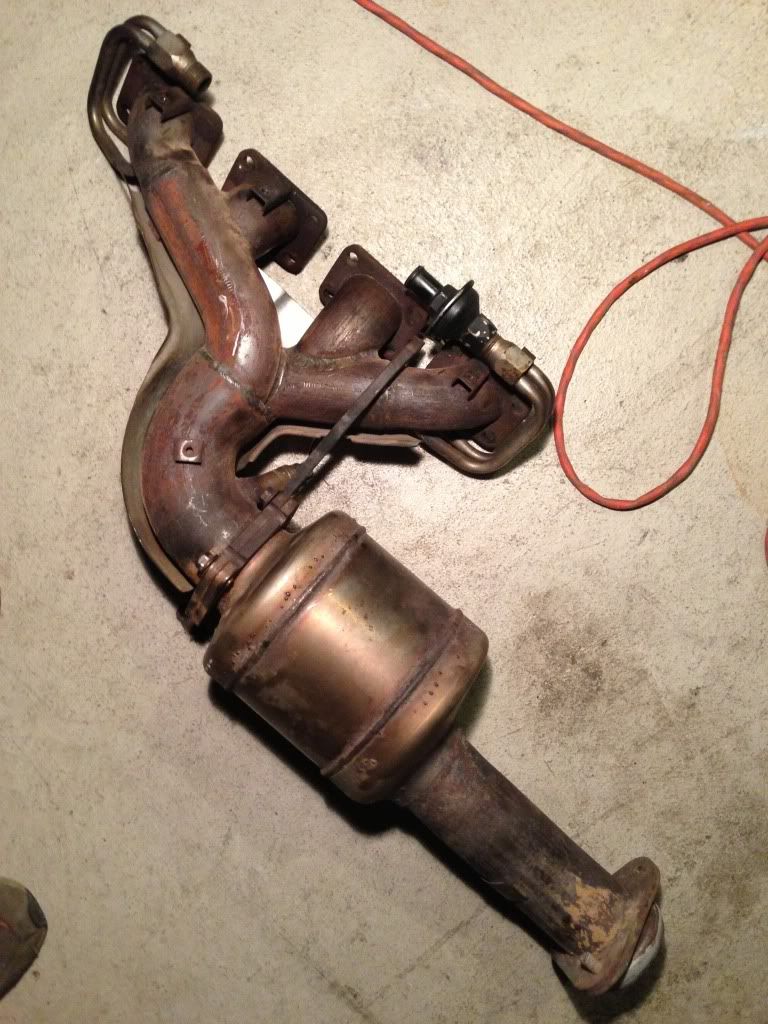
|
|
|

|
|
|
#32 |
|
Join Date: Jun 2013
Location: Toronto
Posts: 782
|
|
|
|

|
|
|
#33 |
|
Join Date: Jun 2013
Location: Toronto
Posts: 782
|
|
|
|

|
|
|
#34 |
  Join Date: Aug 2009
Location: South Dakota/California
Posts: 3,790
|
 Great Photos of the Stock Kludged Exhaust Manifolds. Great Photos of the Stock Kludged Exhaust Manifolds.Just some tips you might have not thought about installing the NEW SW HEADERS...... Now to install SW....and with a 1/4 socket wrench and two extensions with two universals (sometimes) you can get more of those Stage 8 Exhaust Manifold Bolts on than you think. There was one I could not get the Stage 8 Locks on. 1. Clean ALL surfaces on both sides (Drivers and Passenger) of Exhaust ports. When installing the new Exhaust Manifold Gaskets do NOT put anything on the Gaskets as nothing is needed. 2. Do not forget the center stud with larger nut (90'-92' only). It is best to take that stud out if it did not already come out with the nut using vice grips not to damage the outer threads. Use Red Loctite on it and replace it because it goes into an oil galley. Screw the stud in tight with vice grips (Before you even lift Headers up in place) not to damage the outer thread first and let that set up for a bit before installing the nut. There is a bit of room on the stud where the spacer is between lower and top threads and where the header flange is that you can use vice grips at your will without causing issues. I think both ends of the stud are different in terms of available thread so NOTE that when removing the Stud . 3. Lift Headers in place in install loosely one Stage 8 bolt in center some where (with gasket installed) so you do not have to hang onto and support the headers while installing the rest of the Stage 8 Bolts (there are a couple places you CANNOT get a Stage 8 Bolt Installed which is fine). Slip the Stage 8 through the hole in headers with gasket installed (The Stage 8 will keep gasket in place as you raise Headers to Exhaust Manifold. 4. You do NOT need a torque wrench and you do NOT need to put anything on the Stage 8 bolts when installing. And......you do NOT have to tighten TOO MUCH TORQUE when you are using Stage 8 Locks. 5. Modify those CAT shields (the ones with the two bolts going to the oil pan). Re-install them after you do a little cutting with cutoff wheel and grinder to shape as tight as you can around the Headers without contacting Headers.  6. On the passenger side you might think you cannot install a Stage 8 in the front two holes of the Headers.......You Can as you can see up in front of the motor mount insulation and get that 1/4 socket with extensions up into that area. 7. Two get that passenger side 02 extension attached as provided by SW which is stuffed between engine mount and engine on passenger side......use a Hemostat. There is a clip on the connector that you do not want to break using a long thin screw driver to open when holding with Hemostat. 8. A 16 inch straight Hemostat (Ebay has many). On the Ebay Search....just type in Hemostat and the length you would like and also type in Curved or Straight (Hemostat 16 straight for this one). The beauty in addition to being sleek to reach tight spaces is that it can be locked (ratched locked) once you get hold of what you dropped.  Particularily useful for Stainless steel and Aluminum Nuts, Bolts and Washers.....as well as Stage 8 Locks that continue to drop in the process of installing them. 9. As you already determined....a magnet on a extendable shaft works perfectly for picking up any Stage 8 bolts that might fall in areas you think they cannot be retrieved.  10. DO NOT FORGET to Inststall the Dip Stick Tube with new seal . 11. Tuck away from Headers ALL wiring and other lines that might come in contact with Headers. Use the Heat shields (item #5 above) to support lines as required. There are other heat shields for the fuel lines in place that can also be used to tuck 02 sensor wires behind. Use Nylon Ties to make sure those wires and lines do not move back toward the Headers. You DO NOT have to get that top bolt back in the Heat shield as it is well supported with the two bottom bolts of the Oil Pan. 12. Inspect the steering shaft and frame around the Newly Installed SW Headers for clearance as required. 13. Replace inner wheel liners middle and rear and do not forget the BOTTOM 10 mm Bolt in the rear liner. 14. Other Tools..... I actually use 1/4 inch socket, 1/4 inch socket extensions, 1/4 inch socket wrench, and 1/4 inch universal as the 1/4 inch are much easier to work in tight areas. When you get to installing Headers....I sometimes use two universals and two extensions with one 1/4 inch ratchet wrench with Stage 8 Header bolts (it actually works).   Post 87 - Installing Headers and Exhaust
__________________
Left Clickable links -Solutions- LT5 Modifications/Rebuild Tricks Low Mileage ZR-1 Restoration 1990 Corvette (L98) Modifications LT5 Eliminated Systems LT5 Added Systems LT5/ZR-1 Fluids 1995 LT5 SPECIFIC TOP END REBUILD TRICKS Last edited by Dynomite; 08-21-2013 at 11:31 PM. |
|
|

|
|
|
#35 |
|
Join Date: Jun 2013
Location: Toronto
Posts: 782
|
Thanks for all that info! I'm confused about this center stud.. Is this one of the bolts that I pulled that held the manifold on? Is it on both sides?
After pulling that side.. I'm in attack mode on the pass side tonight. Will be focusing on pulling all the shields asap. I'm confident I can pull this side in a fraction of the time it took me to do the drivers side. |
|
|

|
|
|
#36 |
|
Join Date: Jun 2013
Location: Toronto
Posts: 782
|
I'm going to have to take a peek at the head to see about the stud. All I recall pulling is the black bolts with the thick spacers.
|
|
|

|
|
|
#37 |
|
Join Date: Jun 2013
Location: Toronto
Posts: 782
|
I will look tonight. Is it in one if the 4 securing holes for the manifolds/headers ? I'm assuming its between the center exhaust ports?
|
|
|

|
|
|
#38 |
 Join Date: Apr 2007
Location: Northern VA
Posts: 2,648
|
For your information the 93-95 405 hp motors do not have the center stud.
__________________
Phil Wasinger 1994 Torch Red ZR-1 WAZOO Member George Braml Intake |
|
|

|
|
|
#39 |
|
Join Date: Jun 2013
Location: Toronto
Posts: 782
|
That makes sense why I didn't see it! I was going through all the photos I did take and was scratching my head lol . Picked up my correct rear wheel barrels just now after work.. Carlisle is becoming a possibility !! But.. I would have to get the wheels assembled.. Headers installed , alignment done, tires installed .. All by tomorrow night as the local entourage is meeting and driving down at 5am fri morning .
Going to be a busy night tonight!! I also have another non header question.. I have a black tag zf-6. The clutch I ordered from Carolina is for a 94 is it possible he has sent me a blue tag t.o bearing with it? Assuming the clutch kit comes with one (didn't check) |
|
|

|
|
|
#40 | |
  Join Date: Aug 2009
Location: South Dakota/California
Posts: 3,790
|
Quote:
 If you get a Throwout Bearing with the clutch.....and it is for 94....well  1. Throwout Bearings. I have a 91' ZF S6-40 Transmission (Black Label) Parts List No 1052-000-035 with a collar diameter of 1.373 inches and a 94'-95' ZF S6-40 Transmission (Blue Label) Parts List No 1052-000-087 with a collar diameter of 1.305 inches. a. Here is a source for the 90'-93' ZR1/LT5 Throwout Bearing Power Torque Systems Throwout Bearing Part #: 23243 b. Here is a source for the 94'-95' ZR1/LT5 Throwout Bearing Power Torque Systems Throwout Bearing Part #: 23244c. This is exactly what the Throwout Bearing looks like as cited above in both cases as the differences in internal diameter is not noticeable from a picture only. 
Last edited by Dynomite; 08-21-2013 at 11:35 PM. |
|
|
|

|
 |
|
|